
Proxies in Node.js route traffic through residential or datacenter IPs—using Impit, Axios, or native fetch depending on fingerprint needs.
Same goal, three stacks: browser-like TLS for tough sites, classic agents for APIs, or lightweight fetch for simple rotation.
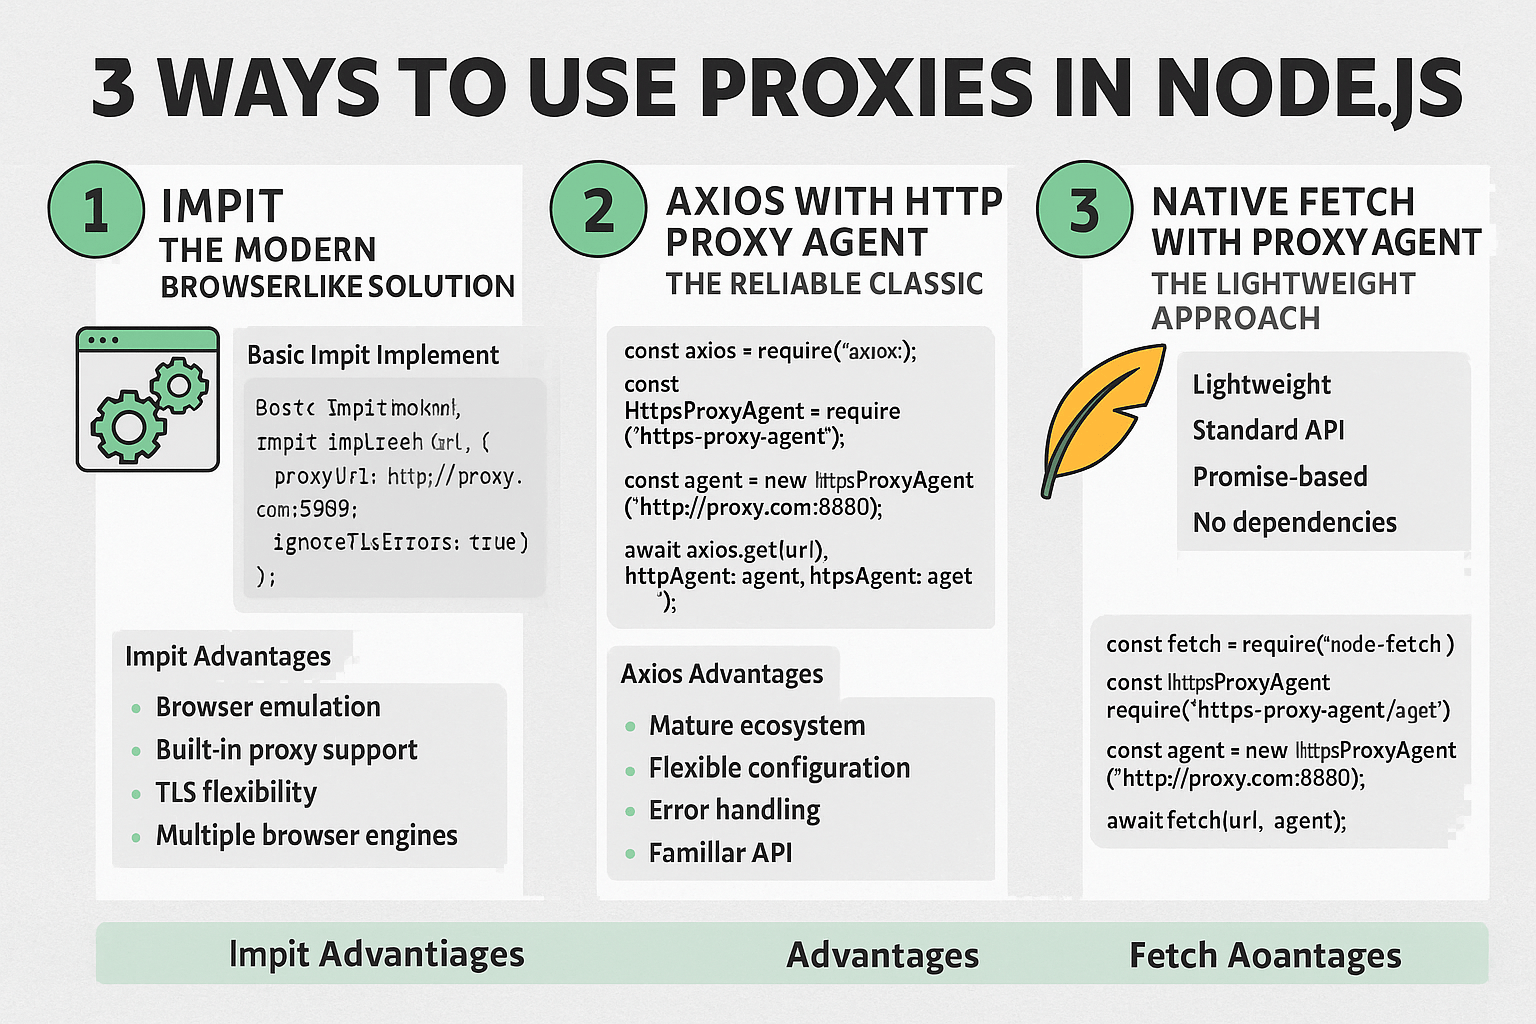
In this guide, you’ll learn:
- Why proxies matter in Node
- Method 1: Impit for modern fingerprints
- Method 2: Axios with proxy agents
- Method 3: Native fetch with agents
We’ll break down each approach below.
Why Use Proxies in Node.js?
Before diving into implementation, it’s worth understanding when and why you’d want to route your Node.js requests through proxies:
- Web Scraping: Avoid IP bans and rate limiting by rotating through different proxy servers
- Geographic Restrictions: Access region-locked content or APIs from different locations
- Corporate Networks: Route traffic through company proxies when required by network policies
- Privacy and Anonymity: Hide your application’s real IP address from target servers
- Load Distribution: Spread requests across multiple exit points to avoid overwhelming single IPs
Method 1: Impit - The Modern Browser-Like Solution
Impit represents the evolution of browser automation and HTTP client libraries, offering a more sophisticated approach to proxy management with browser-like capabilities.
Basic Impit Implementation
import { Impit } from "impit";

const impit = new Impit({
  browser: "chrome",
  proxyUrl: "http://username:password@ip:port",
  ignoreTlsErrors: true,
});

const response = await impit.get("https://example.com");
console.log("Response:", response.data);
Impit Advantages
- Browser Emulation: Impit provides browser-like behavior, making it excellent for scraping JavaScript-heavy sites
- Built-in Proxy Support: Native proxy configuration without additional dependencies
- TLS Flexibility: The
ignoreTlsErrorsoption helps with proxy configurations that have certificate issues - Multiple Browser Engines: Support for both Chrome and Firefox behavior patterns
When to Use Impit
Impit is ideal when you need browser-like capabilities combined with proxy support:
- Scraping single-page applications that rely heavily on JavaScript
- Accessing sites with complex authentication flows
- When you need to maintain sessions across multiple requests
- Sites that detect and block non-browser user agents
Method 2: Axios with HTTPS Proxy Agent - The Reliable Classic
Axios remains one of the most popular HTTP clients for Node.js, and combining it with https-proxy-agent provides robust proxy support with familiar syntax.
Implementation
import axios from "axios";
import { HttpsProxyAgent } from "https-proxy-agent";

const agent = new HttpsProxyAgent("http://username:password@ip:port");

const response = await axios.get("https://example.com", {
  httpsAgent: agent,
});

console.log("Response:", response.data);
Advanced Axios Proxy Configuration
For more complex scenarios, you can configure different agents for HTTP and HTTPS:
import { HttpProxyAgent } from "http-proxy-agent";
import { HttpsProxyAgent } from "https-proxy-agent";

const proxyUrl = "http://username:password@ip:port";
const httpAgent = new HttpProxyAgent(proxyUrl);
const httpsAgent = new HttpsProxyAgent(proxyUrl);

const response = await axios.get("https://example.com", {
  httpAgent,
  httpsAgent,
  timeout: 10000,
});
Axios Advantages
- Mature Ecosystem: Extensive documentation, middleware, and community support
- Flexible Configuration: Detailed control over request/response interceptors, timeouts, and headers
- Error Handling: Built-in error handling and retry mechanisms
- Familiar API: Most developers already know Axios syntax
When to Use Axios
Axios with proxy agents works best for:
- API integrations that don’t require browser-like behavior
- High-performance applications where you need fine-tuned control
- Applications already using Axios throughout the codebase
- When you need advanced features like request/response interceptors
Method 3: Native Fetch with Proxy Agent - The Lightweight Approach
Node.js’s native fetch (available from Node 18+) or the node-fetch library provides a lightweight alternative that closely mirrors the browser’s Fetch API.
Using Node-Fetch (For Older Node Versions)
import fetch from "node-fetch";
import { HttpsProxyAgent } from "https-proxy-agent";

const agent = new HttpsProxyAgent("http://username:password@ip:port");

const response = await fetch("https://example.com", {
  agent,
});
const data = await response.json();

console.log("Data:", data);
Using Native Fetch (Node 18+)
import { HttpsProxyAgent } from "https-proxy-agent";

const agent = new HttpsProxyAgent("http://username:password@ip:port");

const response = await fetch("https://example.com", {
  dispatcher: agent,
});
const data = await response.json();
Fetch Advantages
- Lightweight: Minimal overhead compared to full-featured HTTP clients
- Standard API: Matches browser fetch API for code portability
- Promise-Based: Clean async/await syntax
- No Dependencies: Native fetch eliminates external dependencies (Node 18+)
When to Use Fetch
Fetch with proxy agents is perfect for:
- Simple HTTP requests that don’t need advanced features
- Applications prioritizing minimal dependencies
- Code that needs to work in both browser and Node.js environments
- Microservices where bundle size matters
Choosing the Right Method
Use Impit when:
- You need browser-like behavior
- Scraping JavaScript-heavy sites
- Session management is important
- You want built-in proxy configuration
Use Axios when:
- You need advanced HTTP client features
- Your application already uses Axios
- You require request/response interceptors
- Fine-grained control is important
Use Fetch when:
- You want minimal dependencies
- Making simple HTTP requests
- Code portability between browser/Node.js is important
- You’re using Node.js 18+ and want to avoid external dependencies